
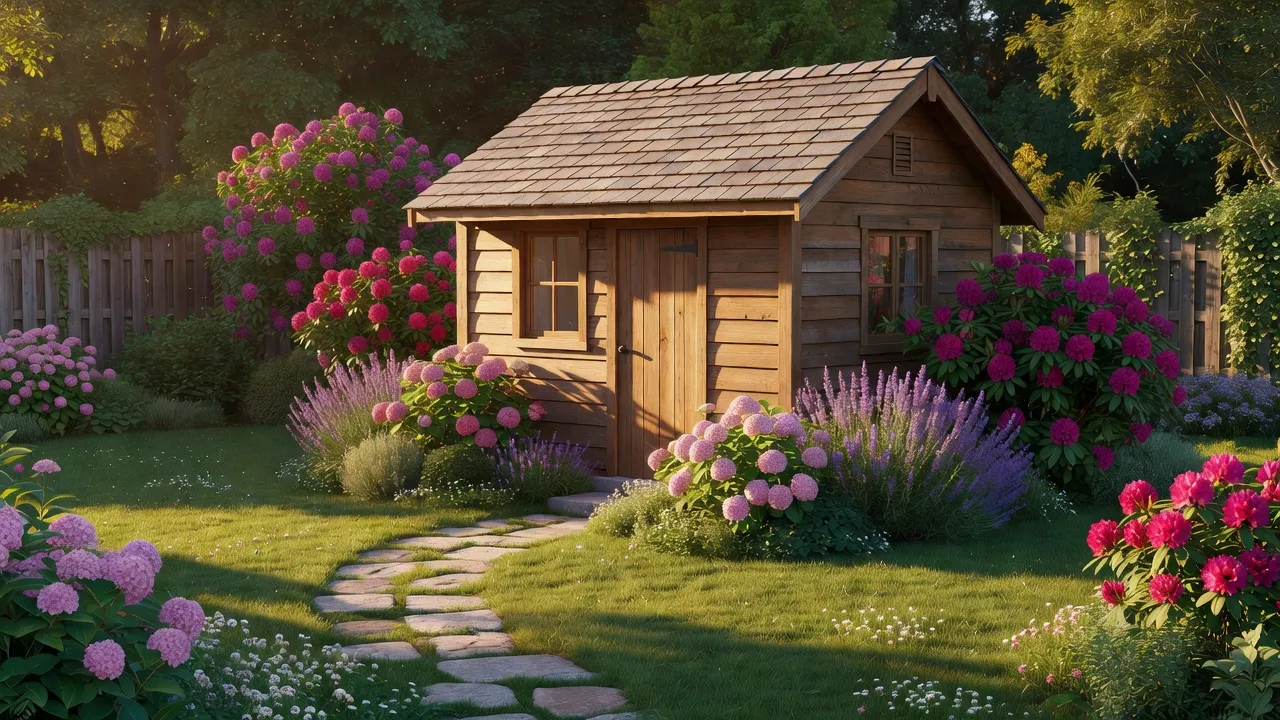
Designing and building a structurally sound garden shed roof takes six sequential steps - from calculating pitch to installing drip edge flashing - and costs between $300 and $1,200 in materials over a two-day project. Choosing the right profile prevents water pooling, structural rot, and premature shingle failure. Skimping on slope calculations or skipping proper underlayment layering often leads to rotted roof sheathing within three years, requiring an expensive $800 tear-out repair.
Before cutting rafters or driving nails, visualize how different roof profiles look alongside your home and landscape. Tools like Renova AI allow you to preview exterior finishes and structural styles directly on photos of your yard before spending money on lumber.
Below is a summary of the roof framing and assembly process, detailing realistic timelines, costs, and material needs for a standard 8x10 or 10x12 garden shed.
| Step Number & Title | Realistic Time | Estimated Material Cost | Key Tools & Materials Required |
|---|---|---|---|
| 1. Select Profile & Calculate Pitch | 1 - 2 Hours | $0 (Planning) | Framing square, tape measure, calculator |
| 2. Size & Cut Rafters | 2 - 4 Hours | $100 - $300 | 2x4 or 2x6 lumber, circular saw, speed square |
| 3. Frame & Anchor Rafters | 3 - 5 Hours | $50 - $120 | Ridge board, hurricane ties, 3-inch framing nails |
| 4. Install Sheathing & Underlayment | 3 - 4 Hours | $120 - $250 | 7/16-inch OSB, H-clips, synthetic underlayment, cap nails |
| 5. Lay Roofing & Drip Edges | 4 - 6 Hours | $150 - $450 | Drip edge flashing, architectural shingles or metal panels |
| 6. Seal Vents & Fascia Trim | 2 - 3 Hours | $40 - $100 | 1x6 fascia boards, soffit vents, exterior-grade caulk |
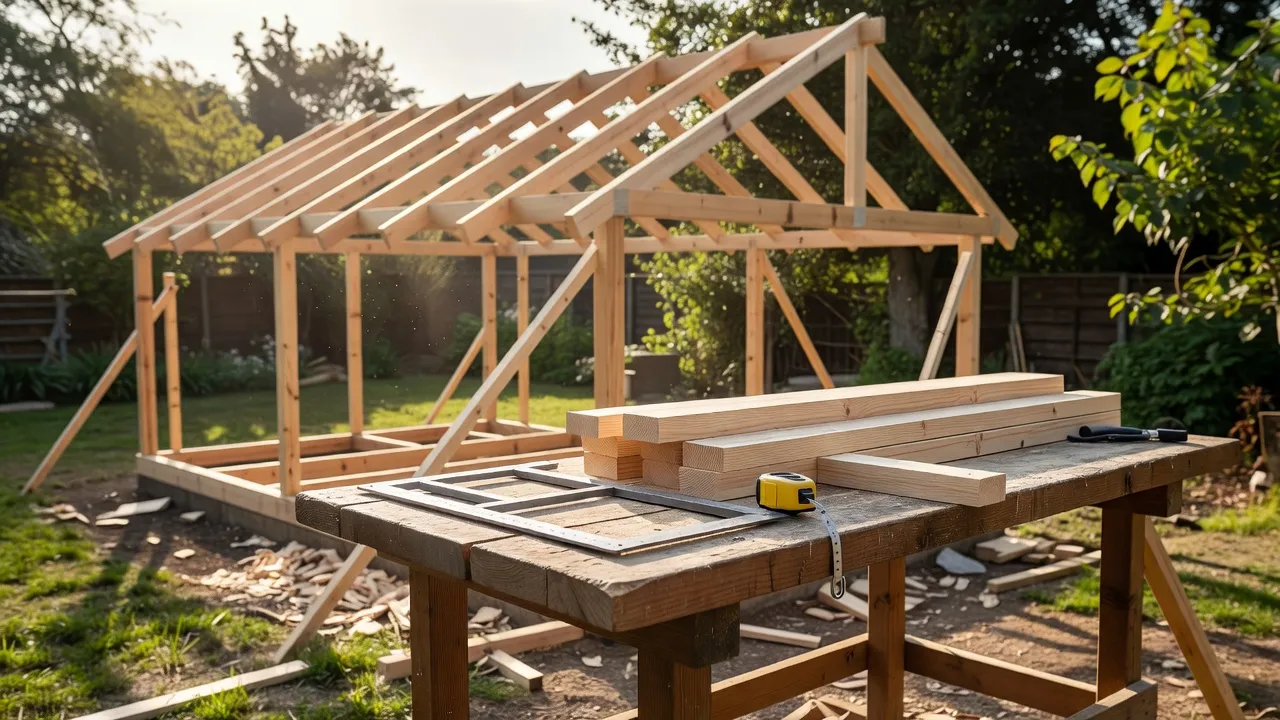
Step 1: Select the Roof Profile and Calculate the Pitch
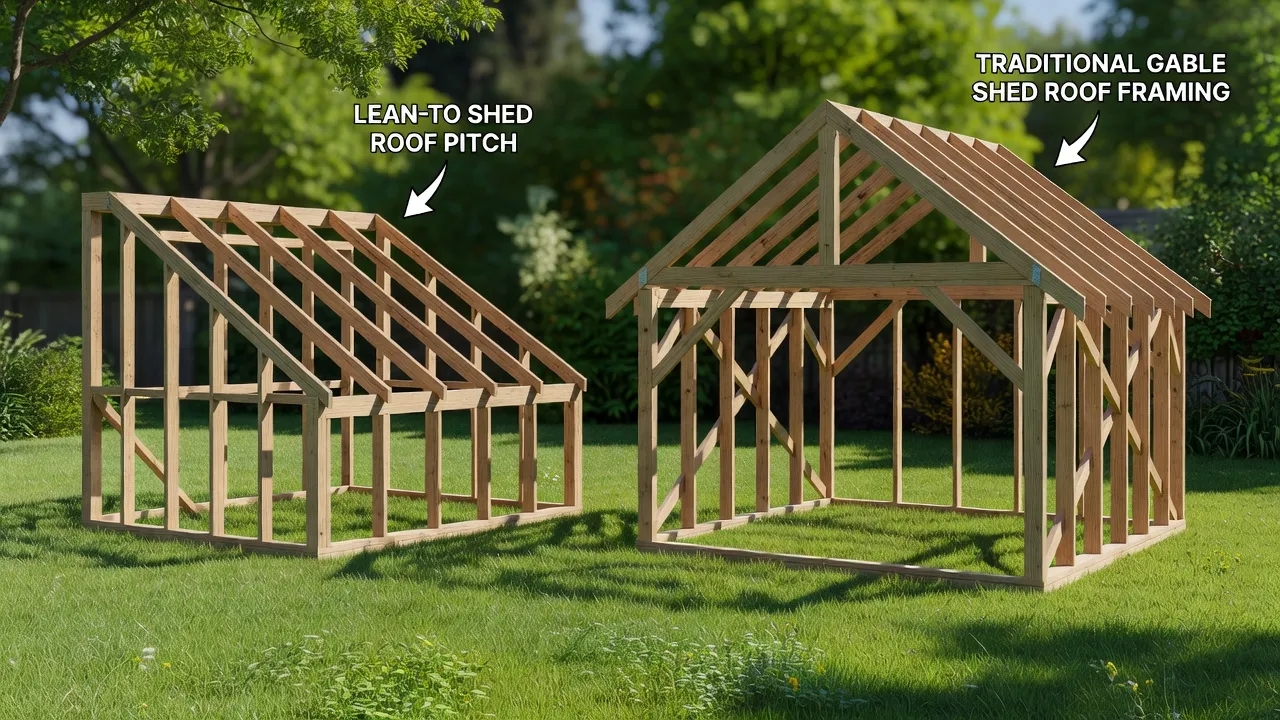
The flat slope profile (lean-to) works best for small sheds against walls, while a gable profile offers superior snow shed and overhead attic storage. Slope is expressed as a ratio of vertical rise over a 12-inch horizontal run (for example, 4:12 means a 4-inch rise per foot).
Choosing an improper slope for your roofing material is the single most common mistake DIY builders make. Installing standard 3-tab asphalt shingles on a pitch lower than 2:12 allows water to back up under the shingles during heavy rain. That mistake leads to rotted decking, interior water damage, and complete roof replacement within five years.
- Pent / Lean-to Roof: Features a single sloped surface. Ideal for simple builds and placement along fence lines.
- Gable Roof: Features two sloping sides meeting at a central ridge line. Offers maximum ventilation and headroom.
- Gambrel Roof: Features two slopes on each side (barn style). Maximizes interior loft storage space.
What is the minimum roof slope for a garden shed?
The minimum slope for standard asphalt shingles is 2:12, but a 4:12 pitch or steeper provides far better water drainage and lifespan. If your design requires a low-slope roof between 1:12 and 2:12, skip shingles entirely and install standing seam metal panels or a continuous EPDM rubber membrane. Low-slope single-ply membranes prevent standing water from seeping through nail penetrations.
Step 2: Size and Cut Your Roof Rafters and Ridge Board
Roof rafters require structural 2x4 or 2x6 framing lumber spaced either 16 inches or 24 inches on center depending on local snow load requirements. For shed spans up to 10 feet in mild climates, 2x4 rafters spaced 16 inches apart work well. For spans over 10 feet or areas with heavy winter snowfall, use 2x6 framing lumber to avoid sag over time.
According to structural span tables from APA - The Engineered Wood Association, rafter spans must account for live snow loads alongside dead loads from heavy shingles. Undersizing your rafters causes the roof deck to dip in the center, creating water pockets that destroy asphalt shingles within two seasons.
To cut rafters accurately:
- Set the Plumb Cut: Use your speed square to mark the top angle where the rafter meets the ridge board or top wall plate.
- Mark the Bird's Mouth Cut: Cut a triangular notch (no deeper than one-quarter of the rafter depth) where the rafter rests flat on the top wall plate.
- Cut Tail Overhangs: Extend rafter tails 6 to 12 inches beyond the wall to keep rainwater away from your shed siding.
How do you cut a bird's mouth cut on a shed rafter?
You cut a bird's mouth by making two intersecting saw cuts using a circular saw and finishing the corner cleanly with a hand saw. Use a speed square set to your roof pitch to mark the vertical plumb line and horizontal seat line on the rafter board. Never cut the vertical notch past the depth of the top plate (typically 1.5 inches deep), or you will compromise the rafter's structural strength.
Step 3: Frame and Anchor the Roof Structure
Anchor each rafter to the top wall plate using metal hurricane ties rather than relying solely on toenailed framing nails. Start by installing the central ridge board (for gable roofs) or the top ledger board (for lean-to designs). Securing ridge boards straight with temporary diagonal bracing keeps framing square while you nail remaining rafters in place.
Failing to anchor rafters to wall plates with hurricane clips creates severe wind-uplift vulnerabilities. High wind gusts catch extended eaves, lifting unanchored roof frames directly off top wall plates and causing total structure collapse.
- Position the Ridge Board: Secure a 2x6 or 2x8 ridge board at the center peaks of gable end walls.
- Attach Rafter Pair Tops: Nail opposing rafters directly through the ridge board using 10d framing nails.
- Secure Rafter Seats: Seat the bird's mouth cut over top wall plates and fasten metal hurricane ties with specialized joist hanger nails.
Previewing Styles Before You Build: Avoiding Aesthetic and Structural Mistakes
Building a shed roof that clashes with your main house architecture or overwhelms a small yard ruins your backyard layout. Testing roof shapes, colors, and exterior siding finishes beforehand saves hundreds of dollars in altered material returns.
Using the Renova AI app, available for iOS on the Apple App Store, lets you visualize finished garden structures instantly. Snap a photo of your empty yard or existing shed base, select an exterior design style, or enter a custom prompt to see how different roof profiles fit your space.
Renova AI requires no manual editing or drafting skills. The app offers 3 free generations to start, followed by subscription options at $6.99 per week or $59 per year. Pairing visual planning with a thoughtful cottage garden design plan ensures your new shed enhances your property rather than looking like an afterthought.
Step 4: Install Plywood Sheathing and Underlayment
Lay 7/16-inch Oriented Strand Board (OSB) or 1/2-inch exterior CDX plywood perpendicularly across rafters, staggering joints by at least two rafter bays. Secure sheathing panels using 8d ring-shank nails driven every 6 inches along panel edges and every 12 inches across interior supports.
As of October 2026, standard 7/16-inch OSB decking panels cost roughly $15 to $19 per sheet at national lumberyards. Updated 2026 regional building codes in heavy snow zones frequently require rafter ties rated for a minimum 30 PSF live load alongside 1/2-inch minimum roof sheathing.
Skimping on panel expansion spacing is another costly mistake. OSB panels expand as moisture levels shift. Failing to leave a 1/8-inch expansion gap between sheet edges causes panels to buckle upward, creating visible ridges along finished shingles.
- Install H-Clips: Place metal H-clips between un-supported panel edges between rafters to eliminate sheet flex under foot traffic.
- Roll Synthetic Underlayment: Fasten synthetic underlayment starting at bottom eaves and working upward toward the peak.
- Overlap Courses: Overlap horizontal underlayment runs by at least 4 inches and vertical end seams by 6 inches. Official installation guidelines from GAF Roofing Systems emphasize that proper underlayment overlap prevents wind-driven rain from penetrating the wood deck below.
Can you put shingles directly on plywood without underlayment?
No, installing shingles directly on plywood without underlayment allows water trapped by condensation or wind-driven rain to rot the wood deck. Underlayment acts as a critical secondary moisture barrier and prevents chemical reactions between raw plywood resins and asphalt shingles. Skipping underlayment saves under $40 initially but leads to complete sheathing rot within several years.
Step 5: Lay Roofing Materials and Drip Edges
Install metal drip edge flashing along eaves underneath the underlayment, and along rake edges over the top of the underlayment. Drip edges channel water runoff away from underlying fascia boards and roof deck edges.
Mistakes in drip edge layering order invite moisture behind fascia boards. If you install eave drip edge over underlayment, water dripping off the edge runs beneath the metal flange, rotting out the bottom edge of your OSB roof sheathing.
- Attach Eave Drip Edge: Nail aluminum or galvanized steel drip edge directly to naked OSB along bottom eaves.
- Apply Starter Strip Shingles: Fasten self-sealing starter shingles along eave edges to prevent wind uplift.
- Nail Architectural Shingles: Fasten shingles working upward in staggered rows using four hot-dipped galvanized roofing nails per shingle.
- Cap the Ridge: Install specialized ridge cap shingles over central peak framing (for gable designs), overlapping each cap piece away from prevailing wind direction.
Once your roofing material is secured, you can focus on exterior finishes like mounting a trellis design for garden climbers or adding unique garden decor around the shed walls.
Which roofing material lasts longest on a garden shed roof?
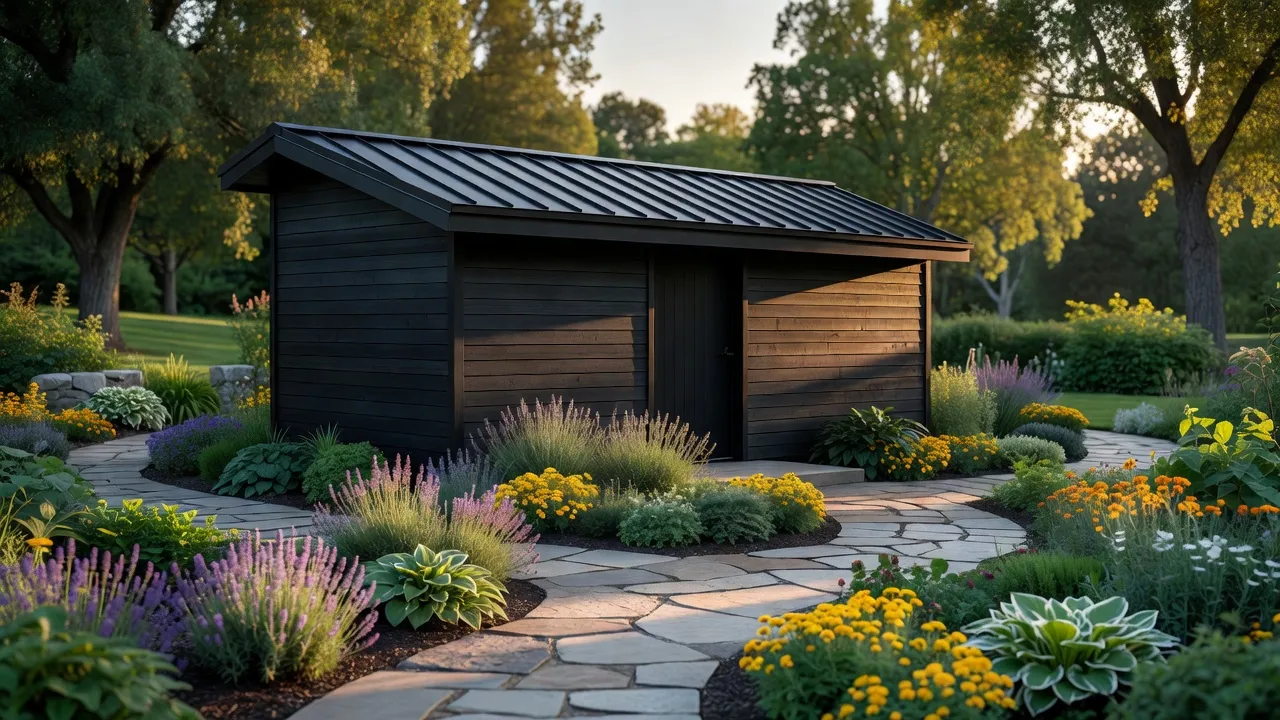
Standing seam metal roofing lasts 40 to 70 years with minimal maintenance, outlasting standard architectural shingles which last 20 to 30 years. While corrugated metal or standing seam panels cost 30% to 50% more upfront in material expenses, metal roofs do not rot, split, or catch fire. Reviewing basic profile guidelines on Wikipedia's shed roof documentation helps confirm weight and slope suitability before purchasing.
Step 6: Seal Ventilation Gaps and Trim Exterior Edges
Install screened soffit vents along overhanging eaves and gable end louvers to promote continuous airflow beneath the roof deck. A completely sealed shed roof traps summer heat and winter moisture, leading to mold growth on rafter undersides and premature shingle degradation.
Finish structural assembly by attaching 1x6 rot-resistant composite or cedar fascia boards to rafter ends. Seal every trim joint, nail hole, and wall seam using high-grade exterior polyurethane caulk before painting.
- Soffit Ventilation: Mount intake vents under eave overhangs to draw cooler air into rafter bays.
- Gable End Vents: Cut vent openings near top peak wall frames to exhaust hot air.
- Exterior Painting: Apply exterior primer and two coats of acrylic latex paint to exposed trim boards to protect against weathering.
Does a garden shed roof need ventilation?
Yes, garden shed roofs require ventilation to prevent condensation buildup that causes mold, mildew, and rafter decay. Trapped moisture during winter months creates frost on the underside of roof sheathing. When that frost melts, water drops onto stored tools and rots framing timber from the inside out.
Frequently Asked Questions
What is the cheapest roof design for a garden shed?
A single-slope lean-to roof (pent roof) is the cheapest design because it uses fewer framing boards, eliminates ridge boards, and requires minimal rafter angle cuts.
What is the best pitch for a shed roof?
A pitch between 4:12 and 6:12 is ideal for shed roofs using asphalt shingles because it sheds water efficiently while remaining safe and easy to walk on during construction.
Should I use OSB or plywood for shed roof sheathing?
OSB (7/16-inch thickness) is more budget-friendly and widely used, while 1/2-inch exterior CDX plywood provides slightly higher moisture resistance and stiffer spans under heavy snow loads.
How far should a shed roof overhang the walls?
A roof overhang of 6 to 12 inches beyond shed walls effectively shields siding, doors, and window frames from direct rainwater exposure.
Can I put corrugated metal over an existing shed roof?
Yes, you can lay corrugated metal panels over single-layer asphalt shingles if you install 1x3 wood furring strips over existing rafters to create a flat fastening plane.
Do I need structural permits to replace or build a shed roof?
Most local municipalities do not require building permits for detached accessory structures under 120 square feet, but pitch changes or large builds may require local zoning review.
What happens if my shed roof pitch is too low?
If your pitch falls below 2:12 while using standard shingles, standing water seeps under shingle laps, causing subfloor rot, deck sagging, and interior leaks.